Quick and Easy Vegan Kimchi Recipe
Quick & Easy Vegan Kimchi Recipe
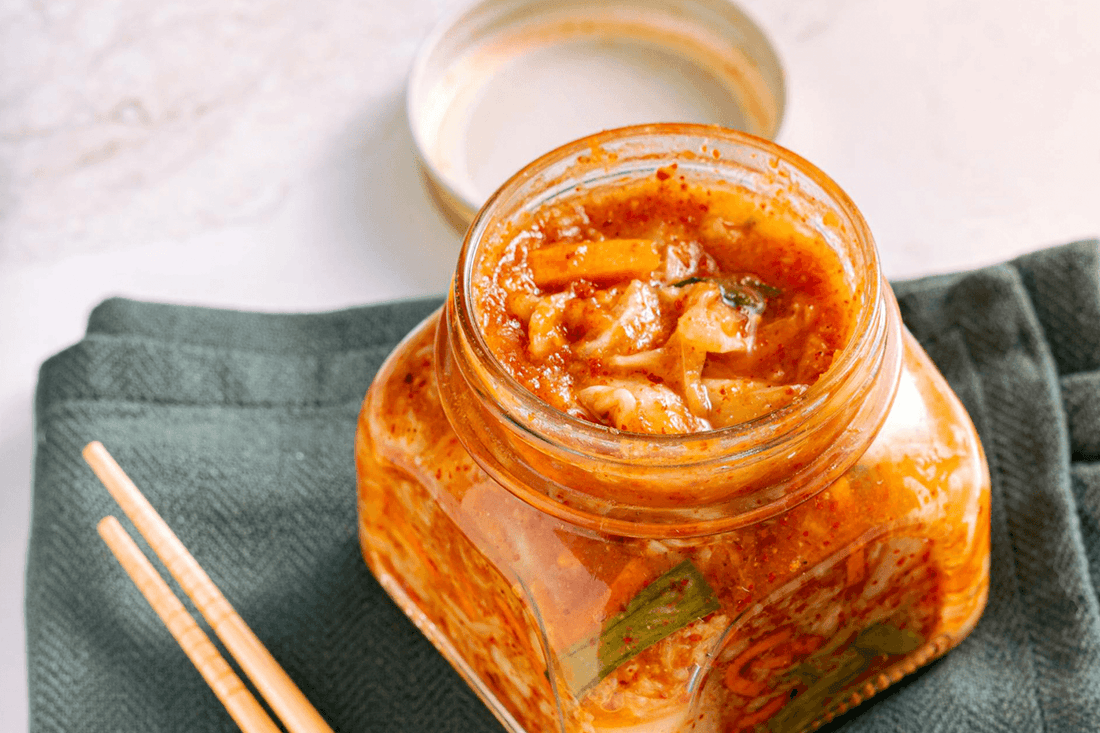
We make kombucha, it's what we do. But we also love all sorts of different ferments. They're great for gut health, but also amazing to have in you culinary repertoire. Kimchi is a staple in Korean cuisine, known for its bold, tangy flavours and gut-friendly probiotics. Traditional recipes often use fish sauce or shrimp paste, but this vegan kimchi version delivers the same delicious umami punch using plant-based ingredients. Even better, it’s quick and easy to make at home!
Why Make Your Own Kimchi?
- Health Benefits – Rich in probiotics, vitamins, and antioxidants.
- Customisable – Adjust spice levels and flavours to your preference.
- No Preservatives – Unlike store-bought versions, this is all-natural.
- Saves Money – Homemade kimchi costs a fraction of the store price.
Ingredients:
- 1 medium Napa cabbage
- 2 tbsp sea salt
- 1 medium carrot, julienned
- 4 spring onions, chopped
- 1 daikon radish, julienned (optional)
- 4 cloves garlic, minced
- 1-inch ginger, grated
- 2 tbsp gochugaru (Korean red pepper flakes, adjust to taste)
- 2 tbsp tamari or soy sauce
- 1 tbsp maple syrup or sugar
- 3 tbsp rice vinegar or apple cider vinegar
Instructions:
Step 1: Prepare the Cabbage
- Cut the Napa cabbage in half lengthwise, then into bite-sized pieces.
- Place cabbage in a large bowl and sprinkle with salt, tossing to coat.
- Let it sit for about 1 hour, turning every 20 minutes to draw out excess moisture.
- Rinse the cabbage thoroughly under cold water and drain well.
Step 2: Make the Kimchi Paste
- In a separate bowl, mix the garlic, ginger, gochugaru, tamari, maple syrup, and vinegar until it forms a paste.
- Add the julienned carrot, spring onions, and daikon radish (if using). Mix well.
Step 3: Combine & Pack
- Add the drained cabbage to the kimchi paste and massage everything together using gloves (to avoid chili burns!).
- Pack the mixture into a clean jar, pressing down to remove air pockets, cover with a sterilised weight to weigh it down (glass or ceramic plate would work) .
- Leave about an inch of space at the top, as kimchi will expand during fermentation.
Step 4: Fermentation
- Loosely cover the jar with a lid and let it ferment at room temperature for 1–3 days.
- Check daily, pressing the kimchi down to keep it submerged in its juices.
- Taste after 24 hours – when it reaches your desired tanginess, transfer it to the fridge.
How to Enjoy Your Vegan Kimchi
- Serve it as a side dish with rice or noodles.
- Add to sandwiches, wraps, or grain bowls for extra flavour.
- Use it in kimchi fried rice or stir-fries.
- It makes an AMAZING addition to cheese toasties / grilled cheese sandwiches
- Blend into soups for a spicy kick.
Storage & Shelf Life
Once refrigerated, your kimchi will continue to develop flavour and last for 2–3 months. The longer it ferments, the tangier it becomes!
Making your own kimchi is easier than you think, and this quick vegan version ensures you get all the bold flavours without the wait. Give it a try and let us know how it turns out!